The Definitive Setup for R4 SDHC Cards
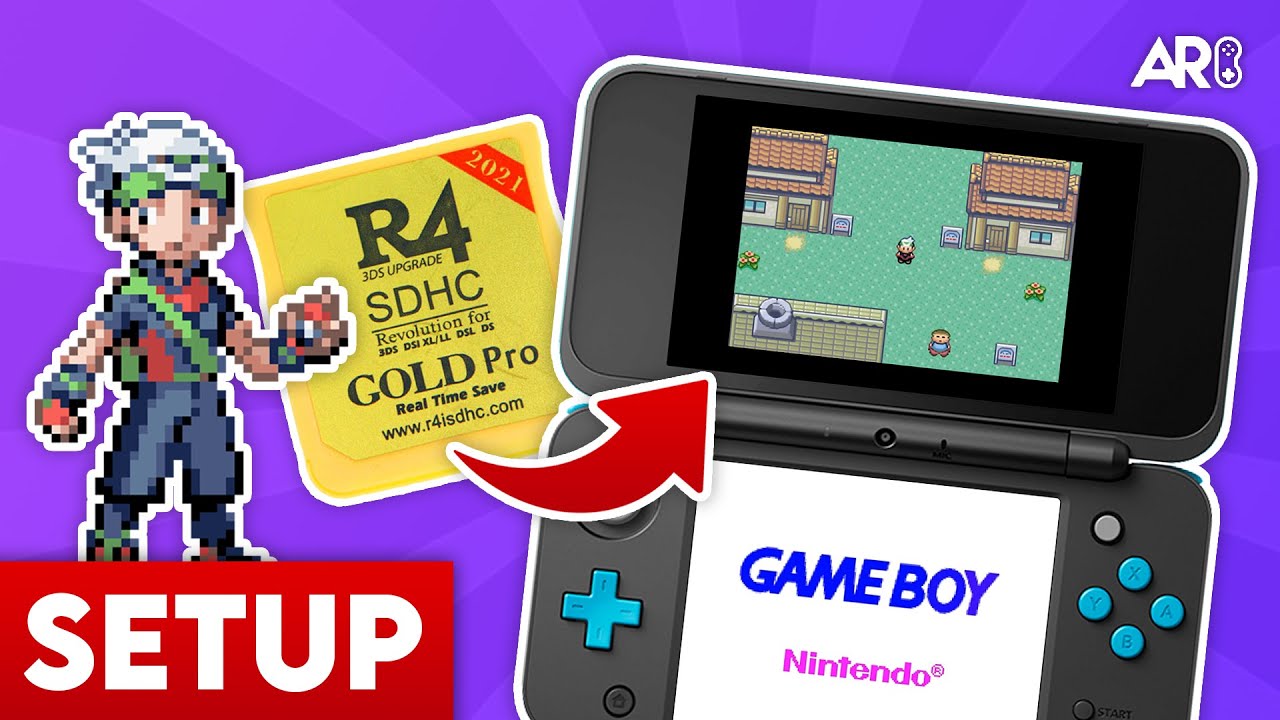
Setting up an R4 SDHC card is the first step to unlocking your Nintendo DS’s full potential. This guide focuses on the popular “SDHC” variety of cards typically labeled as ‘Dual Core’, ‘Gold Pro’, or ‘Snoopy’.
Setting up an R4 SDHC card is the first step to unlocking your Nintendo DS’s full potential. This guide focuses on the popular “SDHC” variety of cards typically labeled as ‘Dual Core’, ‘Gold Pro’, or ‘Snoopy’.
Your MicroSD card MUST be formatted to FAT32 with a 32KB allocation unit size. We recommend using the GUIFormat tool for any cards larger than 32GB to ensure perfect compatibility.
Most factory kernels include ‘timebombs’ that disable the card after a certain date. To bypass this, we highly recommend YSMenu by RetroGameFan. It offers superior game compatibility and a faster interface.
YSMenu supports custom themes! You can find hundreds of skins on sites like GBAtemp. Simply place the theme folders in the /TTMenu/skin/ directory and select them in the settings menu.

Anthony Micallef is the creator of Anton Retro, a platform dedicated to retro gaming enthusiasts. With years of experience in Nintendo homebrew and modding, he creates guides to help gamers get the most out of their consoles.


How did this guide help?
Leave a comment or tip for other players