Introduction
The Miyoo Mini Plus is an amazing retro handheld, but to truly unlock its potential, you need Onion OS. This guide will walk you through unboxing, preparation, and the full installation process.
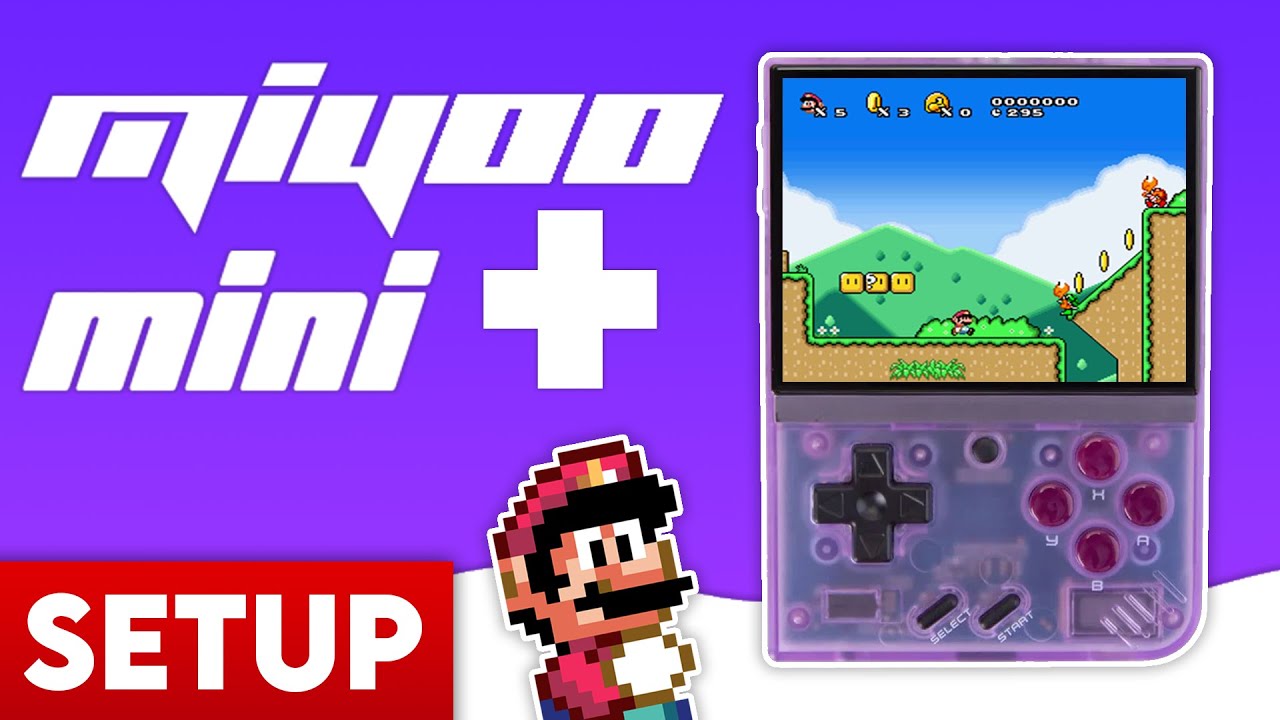
The Miyoo Mini Plus is an amazing retro handheld, but to truly unlock its potential, you need Onion OS. This guide will walk you through unboxing, preparation, and the full installation process.
Inside the box, you’ll find the device itself, a USB-C charging cable, a generic (low quality) Micro SD card, a USB card adapter, and a screen protector. Tip: We recommend replacing the included SD card immediately to avoid data loss.
1. Replace the SD Card: The generic card included with the device is prone to failure. Use a high-quality card from SanDisk or Samsung.
2. Format SD Card: Format your new card to FAT32. Windows users will need GUIFormat for cards larger than 32GB, as Windows’ built-in tool won’t allow FAT32 formatting for large disks.
1. Download the latest Onion OS zip file from the official GitHub.
2. Extract the downloaded zip file on your computer.
3. Copy ALL the extracted files and folders to the ROOT of your empty, FAT32-formatted SD card.
1. Copy your game ROMs into the appropriate folders (e.g., /Roms/GBA).
2. Don’t forget BIOS files for systems like PS1 (place them in the /BIOS folder).
3. You can also add a ‘Ports Collection’ (like Super Mario 64) for enhanced native gameplay.
1. Insert the SD card into your Miyoo Mini Plus.
2. Power on the device. Onion OS will begin its automatic installation process.
3. Once complete, use the Package Manager to select the consoles and apps you want to appear on your home screen.
Installation complete! Enjoy the best retro experience on the Miyoo Mini Plus.

Anthony Micallef is the creator of Anton Retro, a platform dedicated to retro gaming enthusiasts. With years of experience in Nintendo homebrew and modding, he creates guides to help gamers get the most out of their consoles.






How did this guide help?
Leave a comment or tip for other players